PDF A4: materiais, cada carreira com caixinha, montagem e rostinho
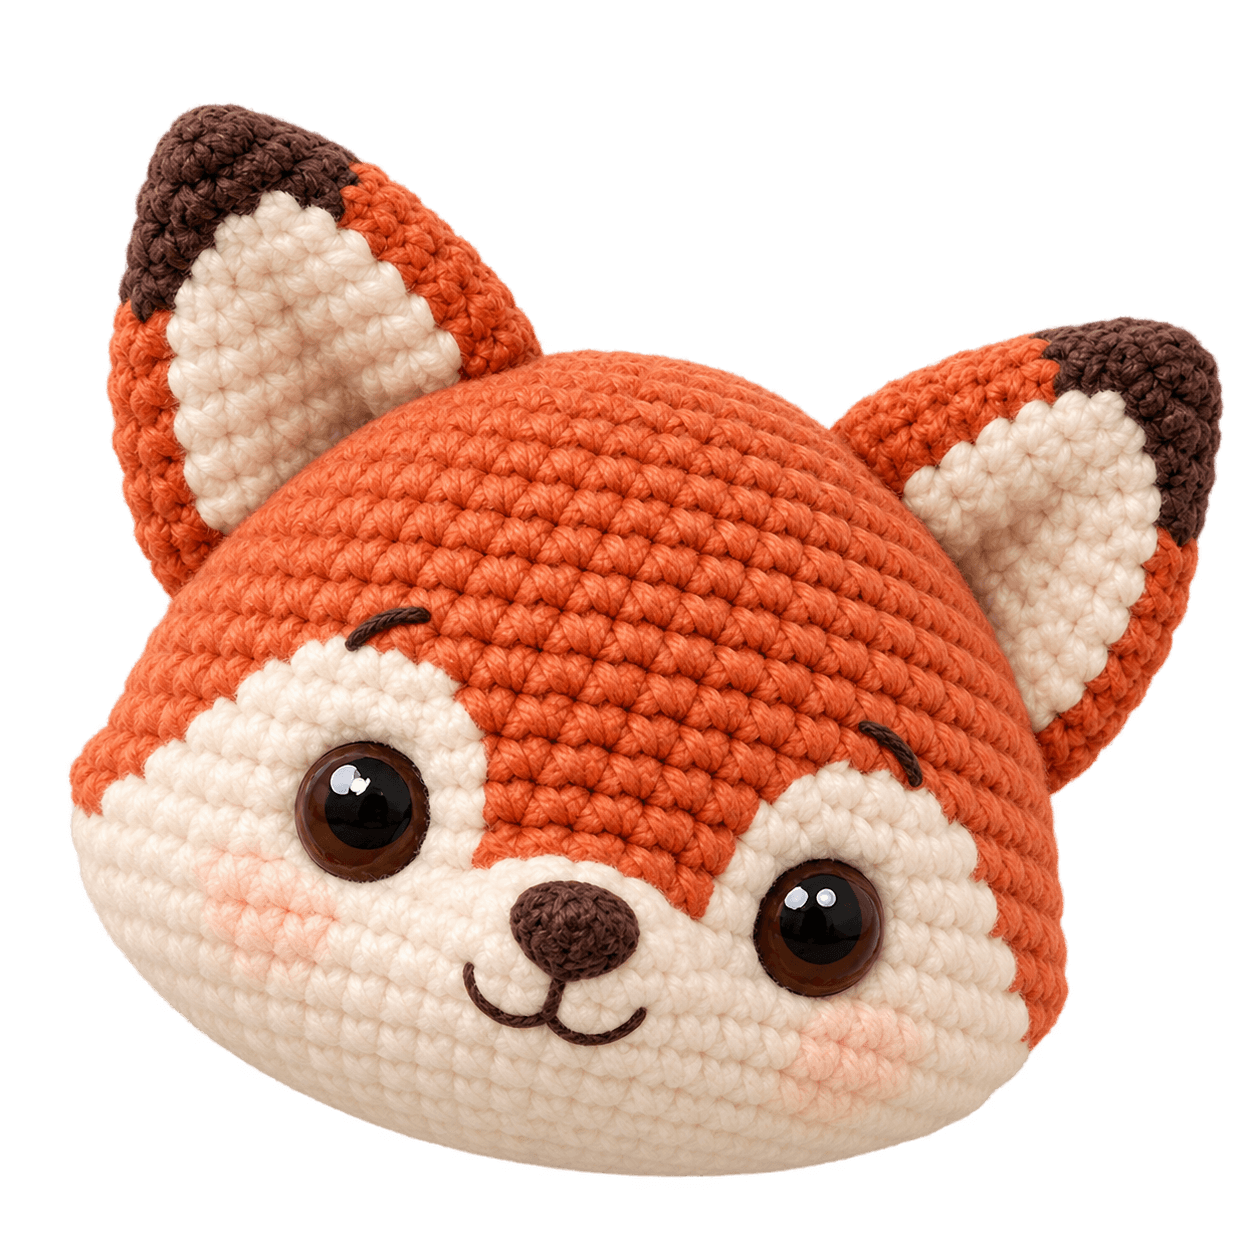
A crochet amigurumi inspired by Garfield from Garfield: a lazy orange tabby cat with half-closed eyes and black stripes. About 10 cm tall in DK yarn with a 2.5 mm hook. A free pattern with every round counted, a 3D model to turn around and a printable PDF. Unofficial fan-made design, not affiliated with or endorsed by Paws, Inc..
Como fazer Lazy Orange Tabby Cat de crochê
Para iniciantes · 10 cm de altura · cerca de 2 h · fio DK · agulha de 2.5 mm
Faça as 10 partes em carreiras: Body, Ear ×2, Tail, Arm ×2, Foot ×2, Whisker pad ×2 (63 carreiras no total).
Encha e monte em 6 etapas; cada uma acende no modelo 3D onde a parte vai.
Faça o rostinho: olhos de segurança por carreira e ponto, ou bordados para menores de 3 anos.
Cada carreira com o número de pontos está na aba Receita abaixo e no PDF grátis para imprimir.
Do que você vai precisar
Marque os itens conforme for separando.
0 de 9 separados
Amostra
1 sc ≈ 4 mm wide, 1 round ≈ 3.6 mm tall (10 cm ≈ 25 sc × 28 rounds); yarn about 1.9 mm thick. The gauge sets the size of the toy; crochet tightly so the stuffing does not show.
Size before assembly: about 7.7 cm at the widest, 8.7 cm long; 31 rounds.
Multi-colour rounds are listed stitch by stitch from the round-start marker; keep the round start on the piece's centre front line (as it sits on the finished toy). The order is for right-handed crocheting (right to left on the outside); left-handed: reverse it.
Change to orange (pull it through on the last yarn-over of R16).
→ Insert the safety eyes now (positions: see “Face”) and fix the backs. Start stuffing (firmly) and keep adding as you decrease.
Top up the stuffing if needed. Fasten off leaving a 15 cm tail; with the needle weave it through the front loops of all 6 stitches of the last round, pull tight and hide the end inside.
Size before assembly: about 2.9 cm at the widest, 1.7 cm long; 6 rounds.
Multi-colour rounds are listed stitch by stitch from the round-start marker; keep the round start on the piece's centre front line (as it sits on the finished toy). The order is for right-handed crocheting (right to left on the outside); left-handed: reverse it.
Fasten off leaving a long tail (30–40 cm) for sewing.
Do not stuff. Shape it into a spoon: push the front wall into the back wall (not down to a thin plate) — a concave spoon about 3.3 mm deep in front, a rounded back, and rounded folds of two layers at the sides (about 5.7 mm thick); about 29 mm wide. Keep the opening a curve, hollow side forward, not a straight line.<!-- (spoon 55 %) -->
Size before assembly: about 1.2 cm at the widest, 4.2 cm long; 12 rounds.
Change to stripe (pull it through on the last yarn-over of R2).
Change to orange (pull it through on the last yarn-over of R4).
Change to stripe (pull it through on the last yarn-over of R6).
Change to orange (pull it through on the last yarn-over of R8).
Fasten off leaving a long tail (30–40 cm) for sewing.
Stuff lightly just before sewing it on; a little less near the edge, then add a pinch when the seam is nearly done.
Bend ≈ 70° around round 6<!-- the bend spreads over 3 rounds -->. After stuffing, bend the piece so the inner side of the bend faces up on the finished toy (on the piece: in round 6, 0.5 st from the centre top line, toward the toy's left <!-- st 0.74 left -->). On the inner side draw rounds 5 and 7 together (2 rounds go into the fold): with the needle and matching yarn make 3–4 stitches through the loops of both rounds over about 2 st, pull to the angle and hide the end inside.
Size before assembly: about 1.2 cm at the widest, 1.7 cm long; 5 rounds.
Fasten off leaving a long tail (30–40 cm) for sewing.
Stuff lightly just before sewing it on; a little less near the edge, then add a pinch when the seam is nearly done.
Size before assembly: about 1.5 cm at the widest, 1.2 cm long; 4 rounds.
Fasten off leaving a long tail (30–40 cm) for sewing.
Stuff lightly only and press it flat to about 8 mm thick.<!-- flattened 50 % -->
Size before assembly: about 2.3 cm at the widest, 1.4 cm long; 5 rounds.
Fasten off leaving a long tail (30–40 cm) for sewing.
Stuff lightly just before sewing it on; a little less near the edge, then add a pinch when the seam is nearly done.
Safety eyes and noses go in before the piece is stuffed and closed (see the pieces above); embroidery is easier before the piece is sewn on.
Felt (white), 2 ovals 17×19 mm (on the body) (symmetric: the toy's left side is described, the right is its mirror image), glue or sew on: in round 22, 1.5 st from the centre front line, toward the toy's left.
Safety eyes with a printed glint 8 mm (on the body): between rounds 20 and 21, 3 st apart (count along round 20: about 1.4 st each side of the centre front line).
Embroidery in stripe thread (on the body) (2, symmetric: the toy's left side is described, the right is its mirror image), straight stitches through: (between rounds 21 and 22, 0.5 st from the centre front line, toward the toy's left ) → (between rounds 21 and 22, 1 st from the centre front line, toward the toy's left ) → (between rounds 21 and 22, 2 st from the centre front line, toward the toy's left ) → (between rounds 21 and 22, 2.5 st from the centre front line, toward the toy's left ).
Embroidery in stripe thread (on the body), straight stitches through: (between rounds 28 and 29, 0.5 st from the centre front line, toward the toy's right ) → (between rounds 26 and 27, 0.5 st from the centre front line, toward the toy's right ).
Embroidery in stripe thread (on the body), straight stitches through: (in round 29, on the centre front line ) → (between rounds 26 and 27, on the centre front line ).
Embroidery in stripe thread (on the body), straight stitches through: (between rounds 28 and 29, 0.5 st from the centre front line, toward the toy's left ) → (between rounds 26 and 27, 0.5 st from the centre front line, toward the toy's left ).
Embroidery in stripe thread (on the body), straight stitches through: (in round 24, 4 st from the centre back line, toward the toy's left) → (between rounds 24 and 25, 2 st from the centre back line, toward the toy's left) → (between rounds 24 and 25, on the centre back line) → (between rounds 24 and 25, 2 st from the centre back line, toward the toy's right) → (in round 24, 4 st from the centre back line, toward the toy's right).
Embroidery in stripe thread (on the body), straight stitches through: (in round 20, 5 st from the centre back line, toward the toy's left ) → (between rounds 20 and 21, 2 st from the centre back line, toward the toy's left ) → (between rounds 20 and 21, on the centre back line) → (between rounds 20 and 21, 2 st from the centre back line, toward the toy's right ) → (in round 20, 5 st from the centre back line, toward the toy's right ).
Embroidery in stripe thread (on the body), straight stitches through: (in round 16, 5 st from the centre back line, toward the toy's left ) → (between rounds 16 and 17, 2 st from the centre back line, toward the toy's left ) → (between rounds 16 and 17, on the centre back line) → (between rounds 16 and 17, 2 st from the centre back line, toward the toy's right ) → (in round 16, 5 st from the centre back line, toward the toy's right ).
Abreviações
MR
magic ring
sc
single crochet
inc
2 sc in the same stitch
dec
single crochet two stitches together (invisible decrease recommended)
BLO
work the round in back loops only
FLO
work the round in front loops only
ch
chain
sl st
slip stitch
st
stitch
R5
round 5; R7–14 = rounds 7 to 14 are the same
(…) ×6
repeat 6 times
(24)
stitches in the round when it is done
Ninguém mostrou o seu ainda. Seja a primeira pessoa.
Embroidery in stripe thread (on the body) (2, symmetric: the toy's left side is described, the right is its mirror image), straight stitches through: (in round 20, 11 st from the centre front line, toward the toy's left ) → (between rounds 19 and 20, 13 st from the centre front line, toward the toy's left ) → (in round 19, 14 st from the centre front line, toward the toy's left ).
Satin stitch (on the body) (2, symmetric: the toy's left side is described, the right is its mirror image): in orange thread in several layers so it stands out, a oval about 17 mm wide and 9.5 mm tall, horizontal stitches; centred in round 23, 1.5 st from the centre front line, toward the toy's left .
Satin stitch (on the body): in nose thread in several layers so it stands out, a oval about 9 mm wide and 6 mm tall, horizontal stitches; centred between rounds 19 and 20, on the centre front line .
Embroidery in mouth thread (on the body), straight stitches through: (between rounds 14 and 15, 2 st from the centre front line, toward the toy's right ) → (between rounds 13 and 14, 1.5 st from the centre front line, toward the toy's right ) → (between rounds 13 and 14, 0.5 st from the centre front line, toward the toy's right ) → (between rounds 13 and 14, 0.5 st from the centre front line, toward the toy's left ) → (in round 14, 1.5 st from the centre front line, toward the toy's left ) → (between rounds 14 and 15, 2 st from the centre front line, toward the toy's left ) → (between rounds 15 and 16, 2.5 st from the centre front line, toward the toy's left ).
Satin stitch (on the whisker pad) (2: one on each whisker pad; the left one is described, the right is its mirror): in mouth thread, a oval about 2 mm wide and 2 mm tall, horizontal stitches; centred between rounds 2 and 3, 2.5 st from the centre top line, toward the toy's left .
Satin stitch (on the whisker pad) (2: one on each whisker pad; the left one is described, the right is its mirror): in mouth thread, a oval about 2 mm wide and 2 mm tall, horizontal stitches; centred between rounds 2 and 3, 3.5 st from the centre top line, toward the toy's left .
Satin stitch (on the whisker pad) (2: one on each whisker pad; the left one is described, the right is its mirror): in mouth thread, a oval about 2 mm wide and 2 mm tall, horizontal stitches; centred between rounds 1 and 2, 1.5 st from the centre top line, toward the toy's left .